
Quick Instructions: First, turn off all power to the light using both the light switch and your breaker box. From there, remove the light fixture from the pool wall, unscrew the housing, and swap in a new bulb—either an incandescent bulb or an LED bulb. Reassemble everything, test it outside of the pool, then reinstall the fixture in the niche.
If you notice signs of water damage inside the housing, frayed wires, or anything that looks unsafe, it’s time to call in a qualified electrician. Safety always comes first when it comes to any type of electrical work, especially around pool water.
Now that you’ve got the quick version, let’s break it down in more detail to make sure you’ve got all the tools, steps, and know-how to do this right.
Pool Light Types and Tools Needed
Before jumping into a bulb replacement, it helps to know what kind of pool light you have and what tools are needed to get the job done right. Not all pool lights are created equal—and using the wrong replacement parts can lead to leaks or electrical issues.
Types of Pool Lights:
- Incandescent lights: Common in older inground pool setups. These work well but consume more energy and burn out faster.
- LED pool lights: Popular for modern pool lighting because they’re energy-efficient, longer-lasting, and available in color-changing models.
- Smart wall mount pool lights: These advanced systems let you control brightness, color, and even schedule lighting from your phone or smart home hub.
Common Components:
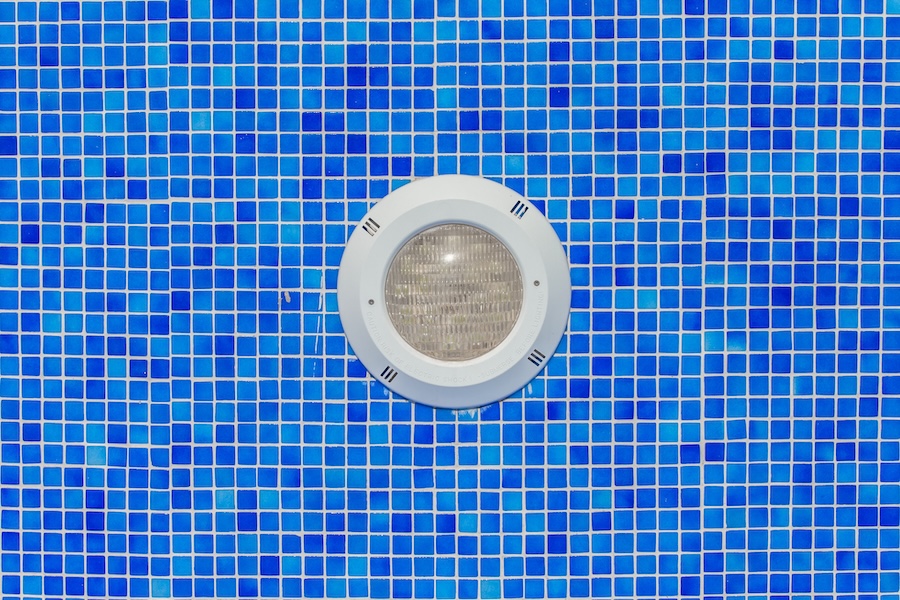
- Light housing: This protects the bulb and wiring from pool water. It’s sealed tightly to prevent leaks.
- Light fixture: The complete unit that fits into the niche in the pool wall.
- Niche: The recessed space in the pool wall that holds the fixture in place.
- Junction box: Located on your pool deck, this is where the light cord connects to your pool’s main electrical system.
Step-by-Step Guide to Pool Light Bulb Replacement
Replacing a pool light bulb sounds intimidating, but it’s actually a manageable project for most handy pool owners. Here’s how to do it safely and correctly.
Tools You’ll Need:
- Screwdriver (usually Phillips)
- Voltage tester
- Replacement bulb or full light fixture
- Towel or pad (to rest the fixture on when it’s out of the pool)
- New gasket (if yours looks worn)
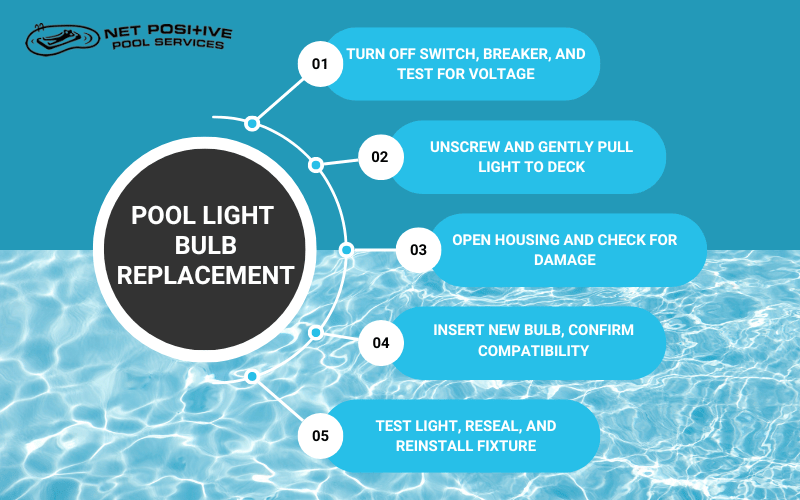
Step 1: Power Down
Start by flipping off the light switch and turning off the breaker connected to your pool light. Double-check with a voltage tester to make sure there’s no current. Safety always comes first when working around water and electricity.
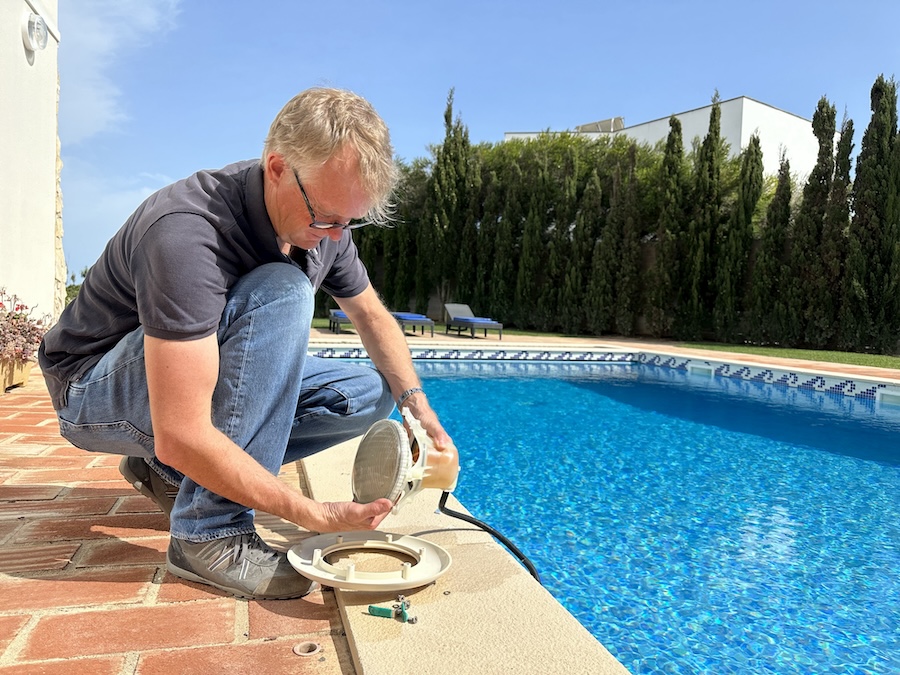
Step 2: Remove the Fixture
Look for a single screw (usually at the top of the light fixture) that holds it in place. Use a screwdriver to remove the screw, then gently pull the fixture away from the pool wall. Don’t yank, coax it out slowly until it rests safely on the pool deck.
Step 3: Open the Housing
Place a towel underneath the fixture and open the light housing. Inside, you’ll see the bulb and sometimes a rubber gasket. Remove the old burned-out bulb and check the housing for water or corrosion. If there’s water, the seal might be bad, and a full replacement pool light could be needed.
Step 4: Replace the Bulb
Insert your new bulb, whether it’s an LED bulb for improved energy consumption or an incandescent bulb for older systems. If you’re upgrading to an LED light, make sure it’s compatible with your existing niche and transformer.
Step 5: Test and Reassemble
Before putting everything back in the pool, turn the power back on briefly to test the new light. If it works, turn it off, reseal the housing, and reinstall the fixture into the pool wall. Coil the light cord carefully so it doesn’t bunch or twist inside the niche.
Congratulations, your underwater light is back in action!
When to Upgrade or Call a Pro
Sometimes, replacing a bulb isn’t enough. If your light housing is leaking or the fixture is cracked, it’s time for a new fixture entirely. Or if you’re dealing with older wiring or a damaged junction box, don’t risk it—bring in a qualified electrician.
Here are signs it’s time to replace or upgrade:
- Water inside the light housing
- Flickering lights or dim output
- Repeatedly burned-out bulbs
- Corroded screws, broken gaskets, or discolored lenses
- Trouble identifying compatible replacement parts
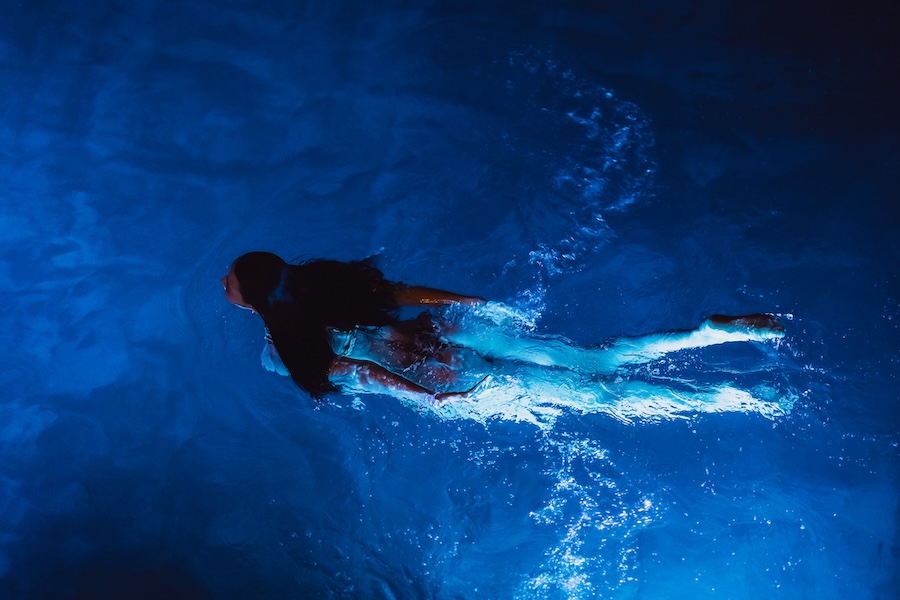
Upgrading from old incandescent lights to LED pool lights or a smart wall mount pool light can reduce energy consumption, offer fun color options, and extend the lifespan of your pool lighting system.
Not to mention, it’s a great excuse to refresh the look of your pool deck or change the mood for evening swims.

Tips for a Smooth Pool Light Replacement
A few extra pointers can make your DIY project go even smoother.
Match Your Bulb to the Fixture
Use the same voltage, wattage, and base type. Check your manual or look up your fixture’s model number before buying your new bulb or replacement pool light.
Replace the Gasket Every Time
Even if it looks okay, an old gasket is one of the main causes of leaks. A fresh seal keeps your light housing dry and safe.
Keep the Cord Tidy
When placing the fixture back into the niche, take care to coil the light cord neatly. Don’t stuff it or jam it, that can damage the cord or affect how the fixture sits in the pool wall.
Don’t Skip the Dry Test
Always test your new light before putting it underwater again. It’s way easier to troubleshoot while its still in open air.
Why Net Positive Pools Is Your Go-To for Pool Light Repairs
If your DIY project hits a snag, or you just want it done right the first time, Net Positive Pools is here to help. We’ve been helping pool owners across the Carolinas keep their pools safe, clean, and fun since 2018.
Our team knows pool lighting inside and out, from basic bulb replacement to full fixture upgrades and smart lighting installs. We work with both incandescent bulb and LED light systems and can spot problems early, from junction box issues to bad seals.
Here’s why local families trust us:
- Expert service for all types of pool light fixture repairs
- Safe and professional handling of electrical work around pool water
- Quality replacement parts and trusted manufacturer support
- Service across NC and SC: Fort Mill, Hilton Head, Charleston, Charlotte, Statesville, and more
- Honest, down-to-earth guidance with every visit
Explore your options pool light replacements, or our other services, like pool liner replacement/installation, pump repair, heater installation, pool opening, leak detection & more. Contact Net Positive Pools today to schedule your light replacement or get expert advice on your next upgrade. Your pool deserves it, and so do you.

